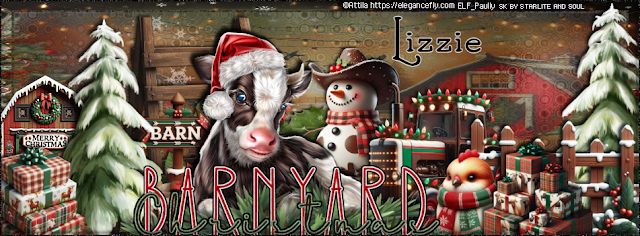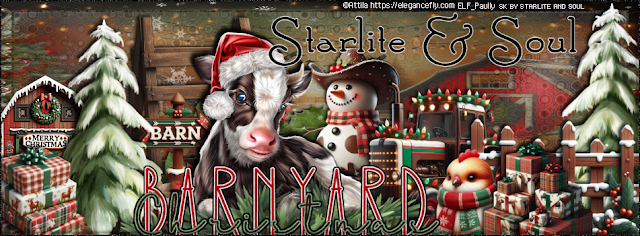

“Carols and Candlelight Collab”
Ho Ho Ho! Step into the nostalgia of the season with our Vintage Christmas Collaboration!
This delightful bundle includes a total of 3 collaborative kits: 10 tubes, 581 elements, 31 frames, 102 papers, and 3 pieces of word art.
Each kit features both AI and non-AI elements, allowing you to combine and mix them together for endless creative possibilities in your tags and projects! Kits CAN be mixed together.
Please credit tubes as:
- Tubes from SAS kit: "AI Generated by SAS:
- Tubes in DBD kit: "AI Generated by DBD:
- Tubes in HPS kit: "AI Generated by MSD"
You can find this and more kits from Starlite and Soul in her store HERE: https://starliteandsoul.com/
You can find this and more kits from Doodle by Design in her store HERE: https://deedlesndoodles.com/
You can find more kits from Happy Pumpkin Studio in her store HERE: https://smileycreations.co.uk/index.php?route=product/category&path=59
Always List Tags: https://public.fotki.com/Flabchgrl/always-lists/


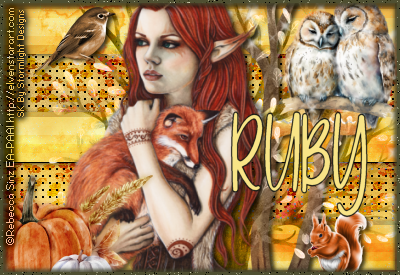
Cute owl themed kit contains 17 papers, 10 frames and 85 elements in a traditional autumn palette of russet, orange, gold, and pine with accents of chestnut, olive, beige, copper, and pumpkin.
Today I paired this kit with a tube from Rebecca Sinz, The Protector


“Turkey Time
This Delightful Thanksgiving Themed
Tagger sized kit contains 195 Elements, 8 Frames and 22 Papers.
*Kit contains both AI and Non-AI.
You can find this and more kits from Starlite and Soul in her store HERE: https://starliteandsoul.com/
Today I paired this kit with a tube from Katerina Koukiotis , Can I keep him .
You can find this and all her tubes available for purchase at Digital Art Heaven HERE.
Always List Tags: https://public.fotki.com/Flabchgrl/always-lists/


Search This Blog
Categories
- ADI
- AITM
- Alessa
- Alicat Digital Scraps
- alicia mujica
- always list
- Amberly Berendson
- Anna Marine
- Artist showoff
- Attila
- Barb Jensen
- Bella Caribena
- Bellisima Designs
- Blog Trains
- CandyShopCollab
- Caron Vinson
- CBJ
- CDO
- CDO Bundle Kit
- Challenge Tag
- Chaos Priestess
- Choas Priestess
- Christmas Collab 2020
- Christmas Collab 2024
- Collab kit
- Colourbelle
- Creative Misfits AL
- Creative Scraps by Crys
- Creepie Cuties
- CRM
- CT
- CT Availability
- CT Tag
- CT- Digital Art Heaven
- CT- Enchanted Scraps
- CT- Foxy's Designz
- CT- Kizzed by Kelz'
- CT- Midnight Shadow Dezinez
- CT- Starlite & Soul
- CT- Stormlight Designs
- Curious Creative Dreams
- cutencharming
- DAH
- DAH Match kit
- Dance In the Rain
- Dark Yarrow
- Dean Yeagle
- Designz by Shelly
- Diamond Club
- Digital Art Heaven
- Dirk Richter
- Dns Scraps
- Doodle By Design
- DSI
- Elegance Fly
- Elena Dudina
- Elias
- Enys Guerrero
- Erin Ewer
- extras
- Foxys Designz
- Freek's Creations
- FTU
- Garv
- general musings
- Giada Calo
- Goldwasser Extras
- Gorjuss
- Guest CT
- Happy Pumpkin Studio
- Heather's Devine dezigns
- Honored Scaps
- Honored Scraps
- howard robinson
- Hungry Hill
- Ian Daniels
- IB Kit
- Ilonka's Designs
- Ishika Chowdhury
- Janesko
- janestarweils
- Janna Prosvirina
- Jasmine Beckett-Griffith
- Jenny
- Jessica Dougherty
- Jose Cano
- Julia Spiri
- just be
- kajenna
- Karmalized Scraps
- Kayomi.harai
- Keith Garvey
- ken Morton
- Kizzed By Kelz
- Kizzed By Kelz'
- Koufay
- Kreative Graphics
- Ladyhawwk Designs
- Lix
- Lucky Tag Draw
- Maigan Lynn
- Marika
- Maryline Cazenave
- Mayumi Ogihara
- Melanie Delon
- Melissa Dawn
- Mia Hopper
- Midnight Shadow Dezinez
- Mike Denning
- Misticheskaya
- Misticheskaya-Match kit
- Molly Harrison
- Monte Moore
- MTA
- Mystical Scraps
- Mystical Scraps Store
- Nene Thomas
- new group
- Nikki Burnett
- Nocturne
- Paul John Ballard
- PUT
- Queen Uriel
- Rebecca Sinz
- Rene Biertempfel
- Robin Pushay
- Sale- DSI
- Sally Jacob
- Sarah Richter
- Schnegge
- Scrap Design n Company
- ScrapDesignsAndCompany
- Scrappin with Lil Ole Me
- Scrapping from the Heart
- scrappinnaturally
- scraps design n company
- SDNC Match
- SDNC- Collab
- SDNC- Foxy's Designz
- Selina Fenech
- Sheena Pike
- SheoKate
- Simona Candini
- Snags
- SQP
- Stanley Morrison
- Starlite and Soul
- Starlite&Soul
- Swan'Scraps
- Sweet Cravings Scraps
- Sybile Art
- Tag show off
- Tania Santos
- Templates
- TheVintageAngel
- Tunchy Art
- tutathon
- Tutorials
- Tutorials Grunge and Glitter
- Tutorials Scrappin Dollars
- Tutorials- DSI
- Tutorials- MTA
- Tutorials-CDO
- Two Peas In The Pod
- Verymany
- VeryMany Artist
- Vi Nina
- Vinegar
- VM-Match kit
- vmartist
- Whisper In The Wind
- Whisprd Designz
- Whisprd Dreamz
- Wicked Princess Scraps
- word art
- Yuriko Shirou
- Zindy


